


I kinda specialize in a combo of digital cinema and doc work. Lots of it is very quick turnaround. Trying to squeeze in as much magic as possible in a few days of shooting and even less time in post.

Quite often I hear people jabba jaw about RED workflow, how it’s tough and so on and so forth. I say – There is a pretty reasonable chance you’re doing it wrong.
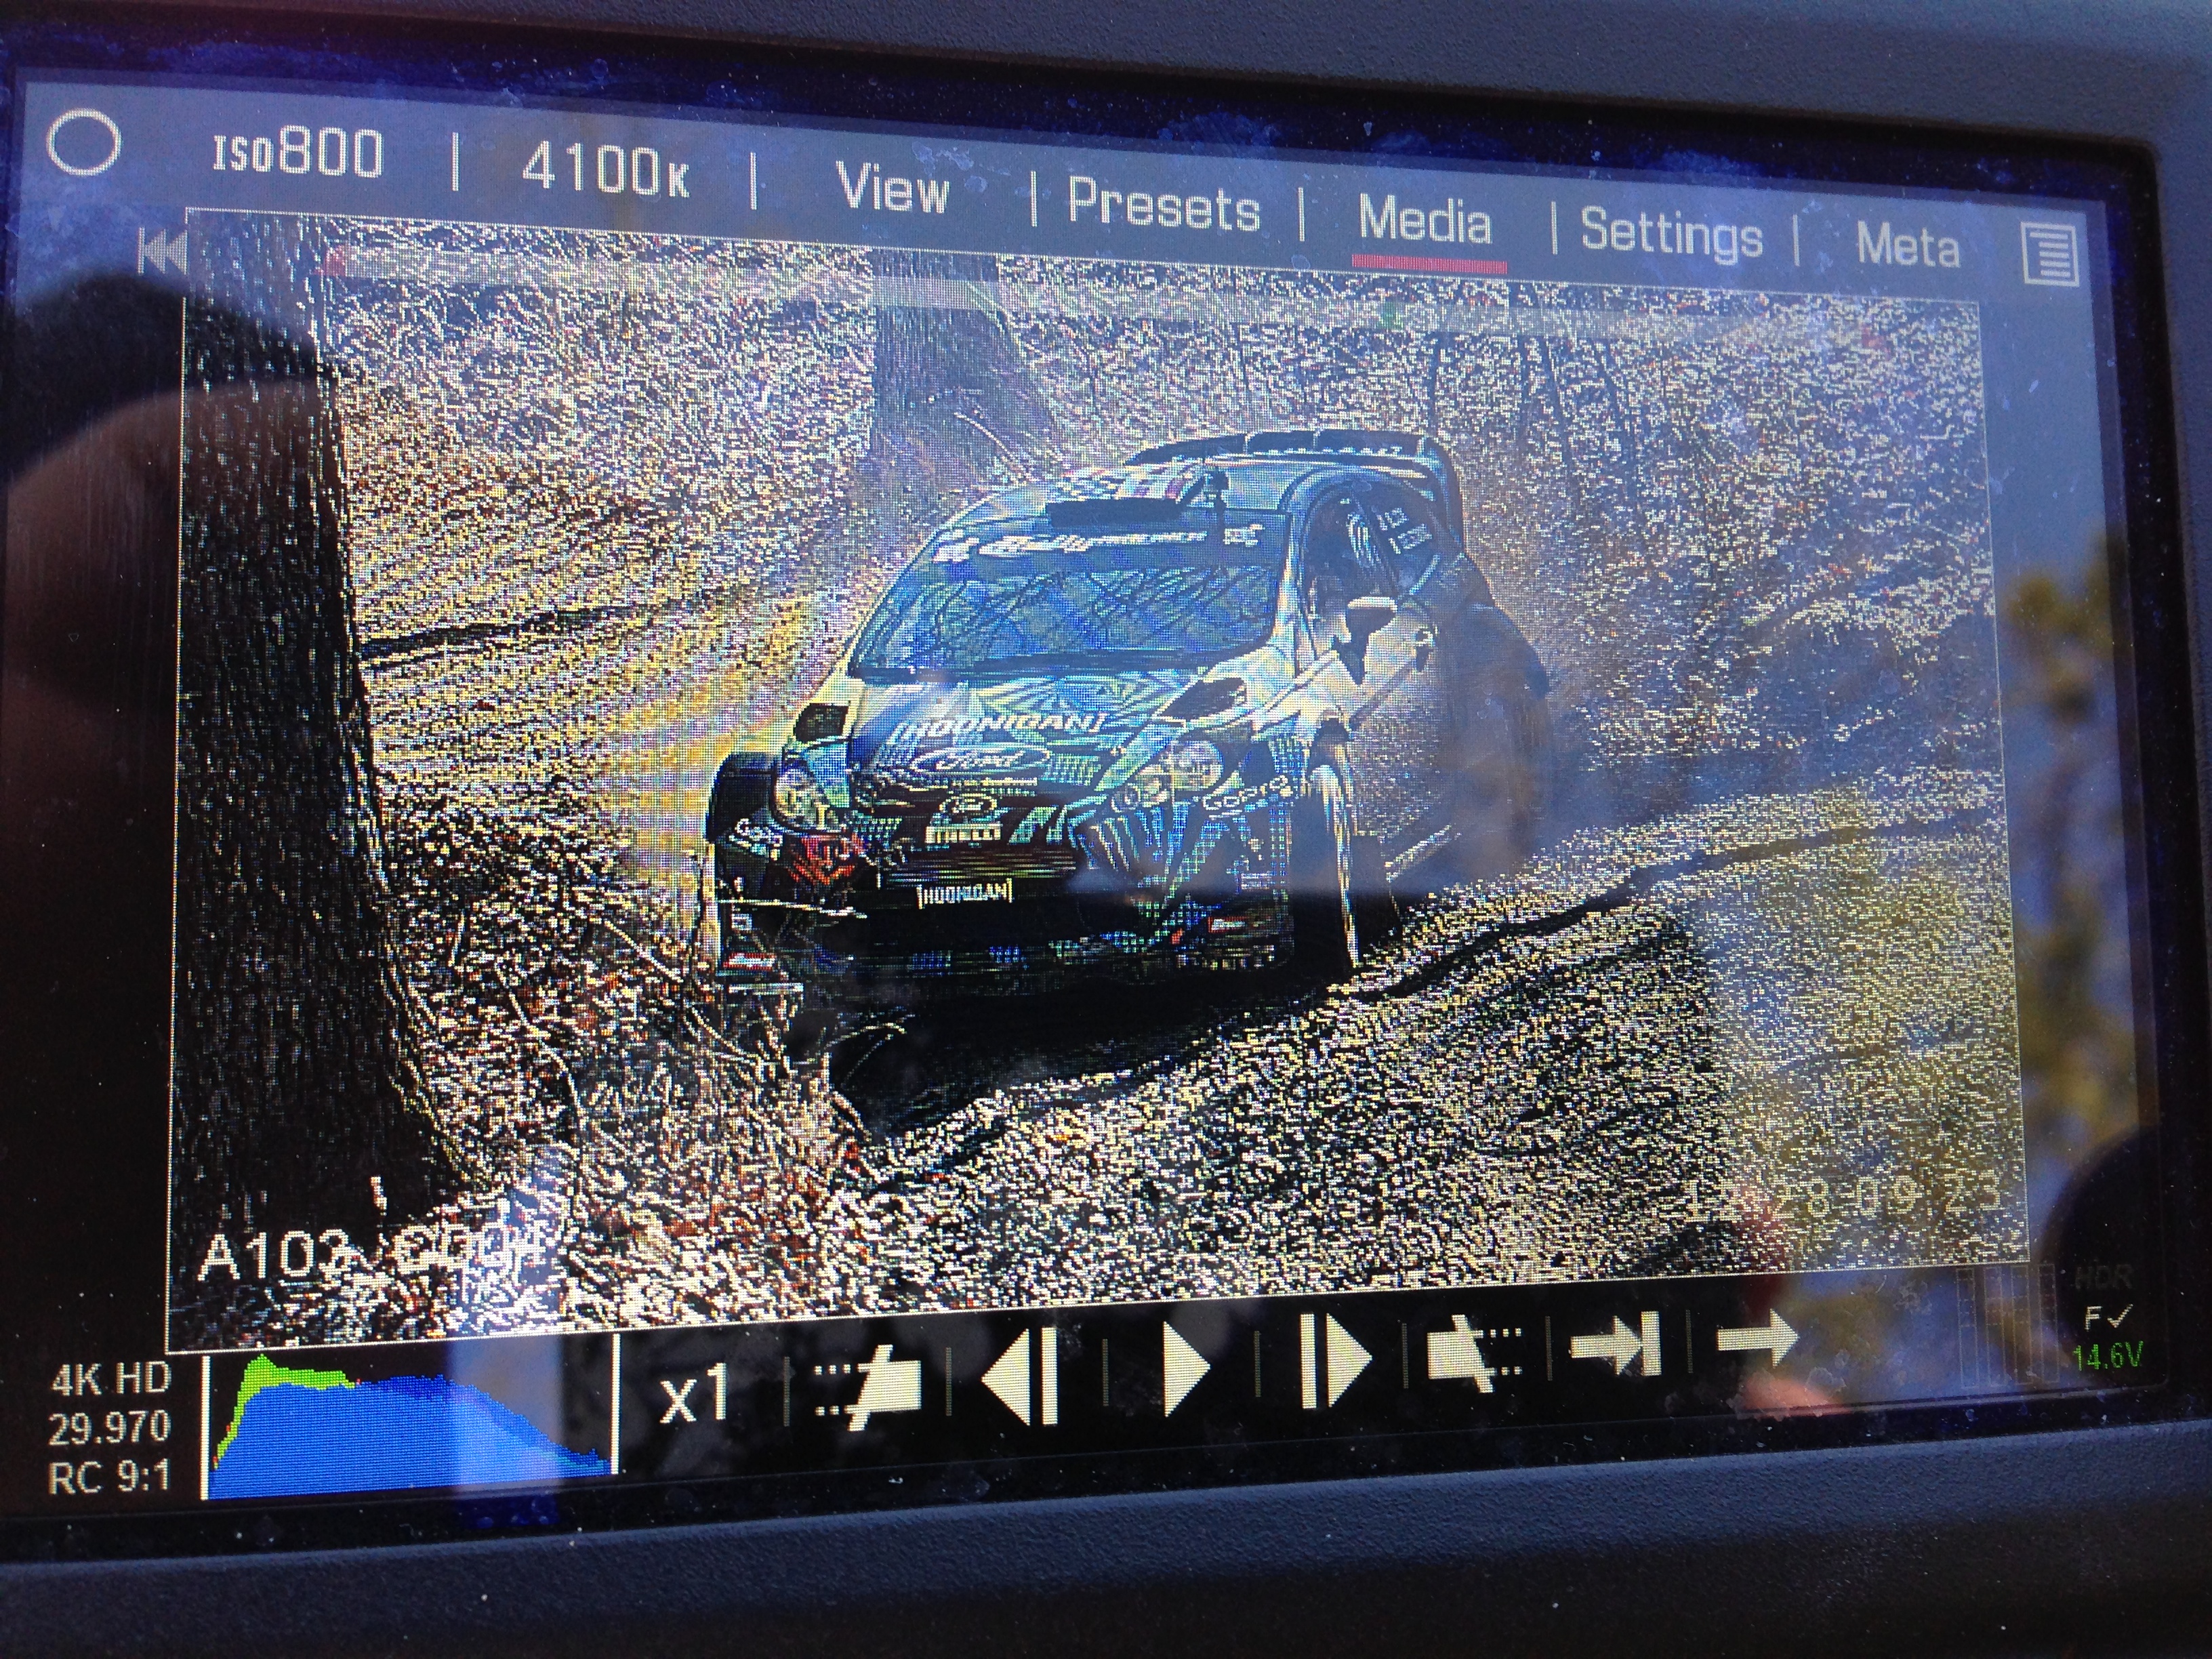
Here are some BTS shots of a little project we worked on a couple weeks ago. 2 RED Scarlets, a Phantom Miro, a Cable Cam, 2 aerial cams and 6 GoPro’s shot across 2 days during an active race test. 3 shooters including me and one assistant. Shooting documentary style with minimum setup. Turnaround time in about 18 hours on location in a spot with limited internet and 2 hotel moves.
RED content was shot on 2 Scarlets. Final delivery is 1080p and I don’t feel the need for an EPIC when I also own a Phantom. Although the extra room for framing on a 5k image would certainly be a bonus 4k -> 1080p is just fine. RED shooter #2 Zac Crosby handled shooting during the day, and also utilized his superb DIT skills in the evening to bring in all the content. The biggest space killer was actually the GoPro content at about 280gig across 2 days of shooting. GoPros were managed by assistant Morgan Tinney. Very important on a shoot like this is not letting POV cams and others just free run at will. Everything has to be managed and as much logging and detail work you can do on location the better. Morgan never let a single GoPro run longer than one run, saving us lots of time later on, both in file copy time as well as logging/editing. Paying an extra assistant person to make sure everything is running smooth is well worth saving 10 additional hours of logging, or even missing some content.

The second biggest content bear is the Phantom files. They are RAW like RED but do not have the workflow tools like REDCINE-X or support of editing systems like Premiere. Your options are to use Gluetools to access the files in any Quicktime app, which makes them available to your editor which is cool. Or transcode direct from Resolve, the Phantom Cine Viewer on Windows, or Speedgrade. Unfortunately Speedgrade doesn’t currently seem to support the Phantom Miro color matrix, and does not seem to allow me to make my own. Resolve was the same way until recently. For this particular project, since we are editing on fast PC’s, I used my Macbook with Gluetools to make transcodes using Adobe Media Encoder to DNXHD which could then be brought into the PC workstations for editing. One of the only bummers on PC based workflow is Gluetools is Mac only. I could have used Resolve on the PC to make transcodes, but it was being used for logging at the time, so Macbook it is. About the only thing the Macbook is good for anymore actually. Also, we go triple redundant here to a bare drive, Thunderbolt RAID and internal RAID in the PC. Bare drives are faster, cheaper, and easily stored. I buy them in bulk now. Almost every shoot gets it’s own 3TB bare which is assigned to the project. On return to the office it gets backed up to the NAS, then the drive gets stored in a plastic Hard Drive case and brought home for safety.

So let me expand on that Mac thing a bit. For the past 2 years I almost exclusively used a 2011 Macbook Pro for on location editing. It works, but is always frustrating. I hate frustrating. Even with the ram maxed out, a second SSD in place of the optical drive, and multiple external thunderbolt drives and adapters, it is just slow and annoying. My home workstations are very fast PC’s and I got sick of taking such a downgrade when on the road. So for projects like this, I am now using the LOCATION SMASHER. A PC box in a box built just for location work like this. Internal RAID, 3 drive docks, 2 Thunderbolt ports, multiple card readers, lots of eSata and USB3 ports and it can playback RED 4k at 1/2 res all day long with no problems. Export time of a 3 minute all RED sequence to H.264 is in the 6-7 minute range depending on filters. Compared to ~40 minutes on the Macbook. Time = money. I love this cube computer.

So Zac is cooking along on the DIT job at night, transcodes are being baked, and GoPro is being logged at the same time across 2 computers in one kinda junky Super8 hotel room. But eventually you might have to go on the road. So here is the final tweaks being made on a moving RV. Good thing for at least some internal SSD based drives.

So the final shot was done around 4pm on Wednesday, the rough cut was done by 12pm on Thursday and after client review the final draft was Thursday evening. Complete with wire removal on the cable cam shot, stabilizing on the full size aerials, and foley sound. Done and complete for publishing on Friday. Total data ingested was about 410gb.
So what are the negatives? Currently the Adobe suite doesn’t integrate well with Speedgrade. Which is a total bummer. It is supposed to work well together, but in reality, we know that is not the case. So color correction has to be done directly in Premiere and After Effects. For speed most is actually done in Premiere, quickly using Fast Color Corrector and the 3 way. Anything that needs more is handled in AE. The Phantom content is RAW, but without tools and API’s built into your editor it is hard to take advantage of. I can bring them into Resolve and then export the final shot, but that takes time, which I often don’t have. So they get lightly touched with Fast color corrector or AE using Color Finesse using “Replace with AE comp” right from the Premiere timeline, which is one of the best features. I wish there was that same feature for Speedgrade. Just a simple right click and “Replace with Speedgrade” or something like that. Would make my life 10% better.
Take a look at the final piece here:

Recent Comments